
How to Dry and Cure Cannabis for Better Flavor and Potency

A good harvest can still fall flat if it’s rushed after the chop. Dry too fast, and those bright, sticky aromas turn grassy and dull. Cure too carelessly, and moisture gets trapped where mold can take over. The last stretch after harvest is where good flower becomes smooth, flavorful, and shelf-stable.
Think of drying and curing as the finishing work. Growing builds the material. Drying protects it. Curing refines it.
Before getting into the steps, one quick note: only do this where home cultivation is legal, and follow your local rules. This guide is for informational purposes only.

Why drying and curing Cannabis matter so much
Once a plant is cut, it doesn’t instantly become ready-to-store flower. Fresh buds hold a lot of water. They also contain chlorophyll, sugars, starches, and aromatic compounds that need careful handling.
Drying removes moisture from the outside and inside of the buds at a controlled pace. Curing then lets the remaining moisture even out while harsh compounds continue to break down.
Done well, the process helps preserve:
Flavor
Terpenes are delicate aromatic compounds. Heat, strong airflow, and bright light can drive them off fast.
Potency
Cannabinoids are more stable than terpenes, but they still suffer from rough handling, heat, oxygen, and light over time.
Smoothness
A proper cure reduces that sharp, green, hay-like quality that comes from trapped chlorophyll and excess moisture.
Shelf life
Flower that’s dried and cured correctly is less likely to mold and stores better.
Rushing this stage is one of the easiest ways to lose the character you worked for. The goal isn’t just “dry enough.” It’s evenly dried, slowly finished, and cured under control.
Start with a clean, careful harvest
The drying room starts doing its job before anything gets hung. How you harvest affects how evenly your flower dries.
Try to cut during a cool part of the day if possible. Handle branches gently, and avoid squeezing buds. Trichomes are fragile, especially when the flowers are mature and sticky.
You’ve got a few choices at this point.
Whole-plant drying
Hanging the whole plant slows the dry because stems and branches hold extra moisture. This can be great in dry climates where buds might crisp up too quickly.
It also tends to create a more forgiving dry. The downside is that large plants take up more space and need good airflow around them.
Branch drying
Cutting the plant into branches gives you more control. Branches are easier to hang, inspect, move, and space out.
This is a solid middle ground for most small home harvests.
Wet trim or dry trim
Wet trimming means removing sugar leaves before drying. It can speed drying and reduce the amount of plant material in the room.
Dry trimming means hanging branches with more leaf left on. That extra leaf slows moisture loss and may help preserve aroma in very dry conditions.
Neither method is automatically better. If the room is humid, wet trimming can help reduce mold risk. If the room is dry, dry trimming can keep the flower from drying too fast.

Set up the ideal drying conditions
The drying stage is all about balance. Too much moisture invites mold. Too little moisture, or too much heat, locks in harshness and strips away aroma.
A good target range is:
Drying factor | Best range | Why it matters |
Temperature | 60°F to 65°F | Helps preserve terpenes and slows the dry |
Relative humidity | 55% to 60% | Lets moisture leave gradually without staying wet |
Time | 7 to 14 days | Gives the inside and outside time to dry evenly |
Light | Dark or very dim | Light can degrade cannabinoids and aroma |
Airflow | Gentle, indirect movement | Prevents stale pockets without blasting buds |
The common “60 and 60” idea, about 60°F and 60% relative humidity, is popular for a reason. It keeps the process slow enough to protect quality but dry enough to reduce risk.
Keep the room dark
Direct light is not your friend here. A dark closet, tent, or spare room works well if you can control temperature, humidity, and airflow.
If you need to check the flower, use low light and keep visits short.
Use gentle airflow
You want air moving around the room, not directly into the buds. A fan pointed straight at hanging branches can dry the outside too quickly while the inside stays wet.
Aim a small fan at a wall or use indirect circulation. The air should feel fresh, not windy.
Watch humidity closely
A basic hygrometer is one of the best tools you can buy for this step. Guessing by feel isn’t enough, especially in humid or very dry areas.
If humidity is too high, use a dehumidifier or increase airflow slightly. If it’s too low, slow the dry by leaving more leaf on, hanging larger branches, or using a humidifier carefully.
Avoid big swings. A room that bounces from 45% to 70% humidity every day makes drying harder to control.
Give each branch space
Crowded branches trap moisture. Dense flowers need room around them so air can move.
Check the thickest buds daily. Look for gray, brown, fuzzy, or musty areas. If anything smells like ammonia, mildew, or wet hay, take it seriously and inspect closely.
Know when the dry is finished
The hardest part is knowing when to stop drying and start curing. The outside of a bud can feel dry before the center is ready.
Here are signs you’re close:
Smaller stems snap instead of folding.
Larger stems bend with a light crack.
Buds feel dry on the outside but not brittle.
Flowers spring back a little when gently squeezed.
The smell is more floral, earthy, fruity, piney, or gassy than grassy.
Don’t wait until everything is bone dry. If the buds crumble when handled, they’ve gone too far. Cure works best when there’s still a little internal moisture left to redistribute inside the jar.
That said, don’t jar flower that still feels wet or spongy. If in doubt, jar a small sample with a mini hygrometer for a few hours. The reading will tell you more than touch alone.

Cure in jars for better flavor and texture
Curing is where the flower settles into itself. Moisture moves from the center of the buds toward the outside. Harsh green notes fade. Aroma gets rounder and more defined.
This is also where patience pays off. A quick dry might make flower usable. A good cure makes it enjoyable.
The phrase Harvest and Curing gets thrown around like it’s one step, but curing deserves its own attention. It’s slower, quieter, and just as important.
Choose the right jars
Wide-mouth glass mason jars are the classic choice because they seal well, don’t hold odors, and make inspection easy.
Use clean, dry jars. Don’t use containers that smell like food, soap, or plastic.
Fill each jar about 70% to 75% full. The buds should have space to move when you gently roll or tilt the jar. If the jar is packed tight, moisture won’t even out as well, and mold risk goes up.
Add small hygrometers
Mini hygrometers are cheap and very helpful. Put one in at least a few jars, especially if different jars hold different bud sizes.
After the jar has been sealed for several hours, check the humidity reading.
A useful guide:
Jar humidity | What to do |
Below 55% | Too dry for much curing activity |
55% to 58% | Safe, but curing will be slower and less active |
58% to 62% | Good curing range |
63% to 65% | Watch closely and burp often |
66% to 70% | Open jars longer, or spread buds out briefly |
Above 70% | Remove from jars and dry longer |
The sweet spot for curing is usually around 58% to 62% relative humidity inside the jar.
Burp jars during the early cure
“Burping” just means opening the jar to release built-up moisture and bring in fresh air.
For the first week, open jars once or twice a day for about 5 to 15 minutes. Gently move the buds around so they don’t stick together.
If the smell is pleasant and the buds feel slightly soft but not wet, you’re on track.
If the smell turns sour, musty, or ammonia-like, the humidity is too high. Take the buds out of the jar and let them air out on a clean tray before trying again.
Reduce burping over time
After the first week or two, the moisture should be more stable. At that point, burp every few days instead of daily.
After three or four weeks, many jars only need an occasional check. If the humidity stays steady and the aroma is clean, the cure is working.
A basic curing timeline looks like this:
Cure stage | What’s happening | What to do |
Week 1 | Moisture evens out quickly | Burp daily and check smell |
Weeks 2 to 3 | Aroma starts to improve | Burp every few days |
Weeks 4 to 8 | Flavor gets smoother | Open only as needed |
After 8 weeks | Long-term storage begins | Keep cool, dark, and stable |
Some flower tastes good after two weeks. Much of it gets better after four to eight weeks. Very dense or resinous buds may benefit from a longer cure if moisture stays controlled.
Avoid the mistakes that ruin good flower
Most drying and curing problems come from moving too fast or trapping too much moisture.
Drying too hot
Heat speeds things up, but speed is the problem. Warm drying rooms can flatten aroma and create harsh smoke or vapor.
Try not to use heaters unless you truly need them, and don’t place buds near vents or appliances.
Blasting buds with fans
Direct fan air can make the outside crispy while the center stays damp. That uneven dry can fool you into jarring too early.
Use airflow to refresh the room, not to push hard air at the flowers.
Jarring too early
This is the big one. If the jar humidity shoots above 70%, the flower wasn’t ready.
Open the jar right away. Spread the buds on a clean surface in a dark room for a few hours, then test again.
Ignoring smell
Your nose is a useful tool. Fresh-cut plant smell is normal early on. A grassy smell can fade during curing.
But musty, sour, rotten, or ammonia-like odors are warning signs. Don’t try to cure your way out of mold.
Storing in light or heat
After curing, keep jars in a cool, dark place. Avoid sunny shelves, hot garages, and warm cabinets.
Light and heat slowly degrade aroma and quality. Stability is the goal.

What high-quality cured flower looks and feels like
Well-dried and cured flower has a few clear signs.
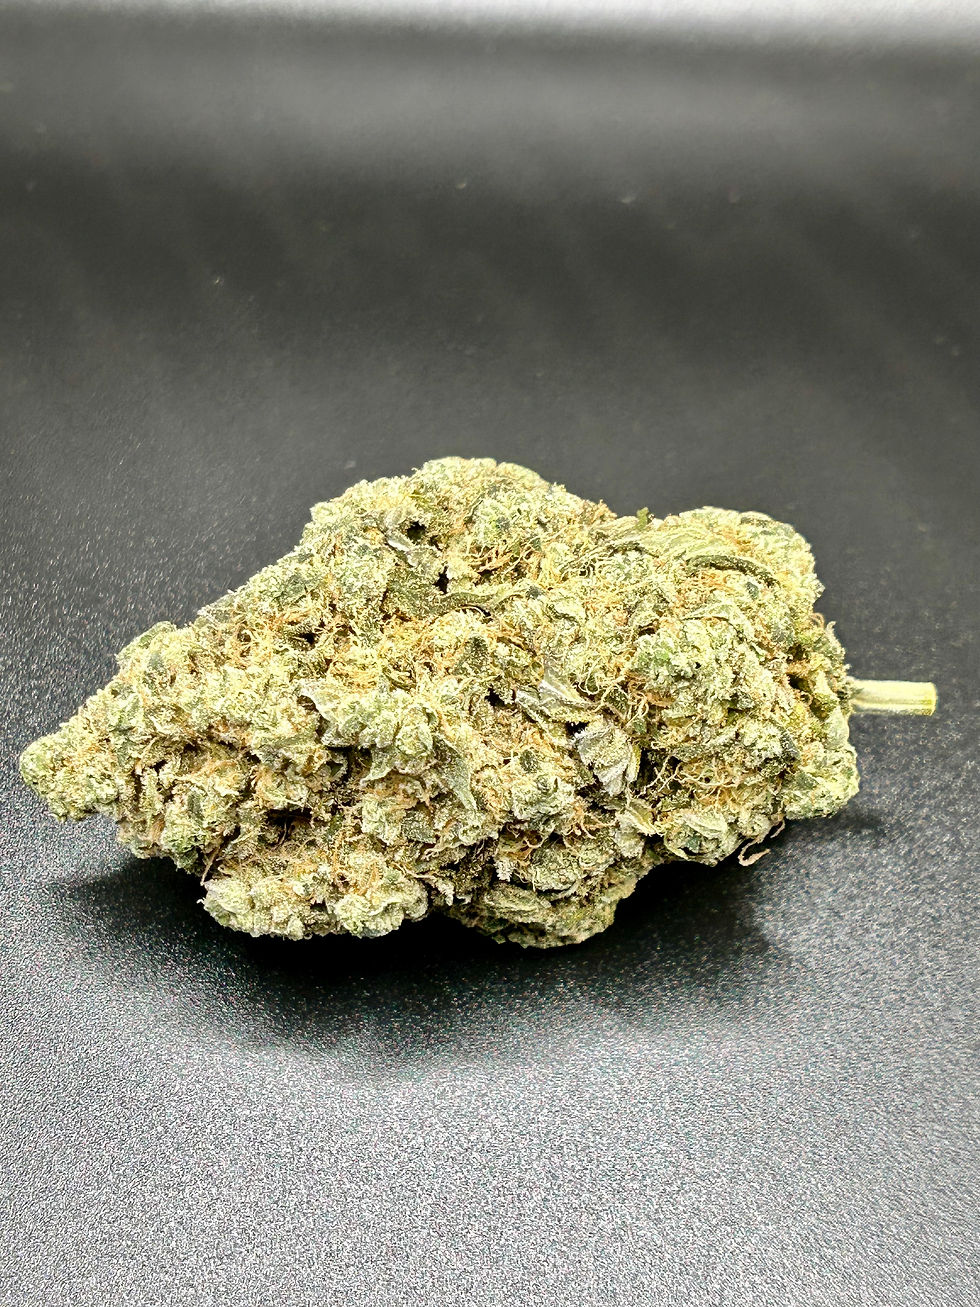
It should feel slightly springy, not wet and not crumbly. Buds should break apart with a little resistance. The aroma should be clear and layered, not sharp or hay-like.
When handled, it shouldn’t turn to dust. When stored, it shouldn’t clump together or sweat moisture onto the jar.
A good cure won’t fix poor genetics, pest damage, or a bad harvest. But it can bring out the best in what you grew. With Cannabis, the difference between rushed and well-finished flower is often obvious the moment the jar opens.
The simple version to remember
Dry slowly in the dark around 60°F to 65°F and 55% to 60% humidity. Aim for 7 to 14 days, depending on bud size and room conditions.
When the small stems snap and the buds feel dry but not brittle, move them into clean glass jars filled about three-quarters full. Keep jar humidity around 58% to 62%, burp daily at first, then less often as the cure stabilizes.
Give it at least two weeks if you can. Four to eight weeks is better for most harvests.
The best results come from patience, steady conditions, and paying attention. Don’t force the dry. Don’t seal up wet buds and hope for the best. Let the flower finish at its own pace, and you’ll protect more of the flavor, aroma, and potency you worked so hard to grow.


Comments